
Getting your city live on Sentra 311
Setting up 311 shouldn’t be a project that drags on. Sentra 311 comes with a guided setup checklist, a ready-made library of common request types, and a team at Computer Systems Plus that has worked with California public agencies since 1990.
How onboarding works
Five phases. Each one ends with something you can see in the system, not a status report.
Kickoff
Agree on request types, the people involved and a go-live goal.
Setup
Your admin works through the twelve-step Get started checklist.
Training
Short, role-based sessions for every group of staff.
Test
Real-looking requests, filed, worked and closed end to end.
Go live
Publish the report page and widget; we watch the first days with you.
Each phase in detail
Kickoff
We meet with your project lead, confirm the departments and people involved, and agree on the request types and the go-live goal. We create your city in Sentra 311 and invite your first admin.
Setup
Your admin works through Get started, the twelve-step checklist inside the portal. Steps tick themselves off as the real settings are done: city limits and logo, departments and crews, staff and roles, request types and SLAs, resident forms, routing and business hours, GIS layers and council districts, the public report page and app colors, resident emails, the website widget, optional data import, and a test request. We review it with you and help with anything technical, like GIS layers or the city boundary.
Training
Short, role-based sessions: city admins, dispatchers and call-takers, department heads, and field crews with the worker app. Everyone also has the built-in help center and the Ask Sentra 311 assistant, with guides written for their role.
Test
Your team files real-looking requests from the public report page, the resident app and the phone-entry screen, assigns them, works them in the field, and closes them. Residents’ emails are checked end to end. The Go-live check in the portal lists anything that would cause problems, with a link to fix each one.
Go live
You publish the report page link, put the widget on the city website, and announce it to residents. We watch the first days with you and adjust request types, routing and SLAs as real requests come in.
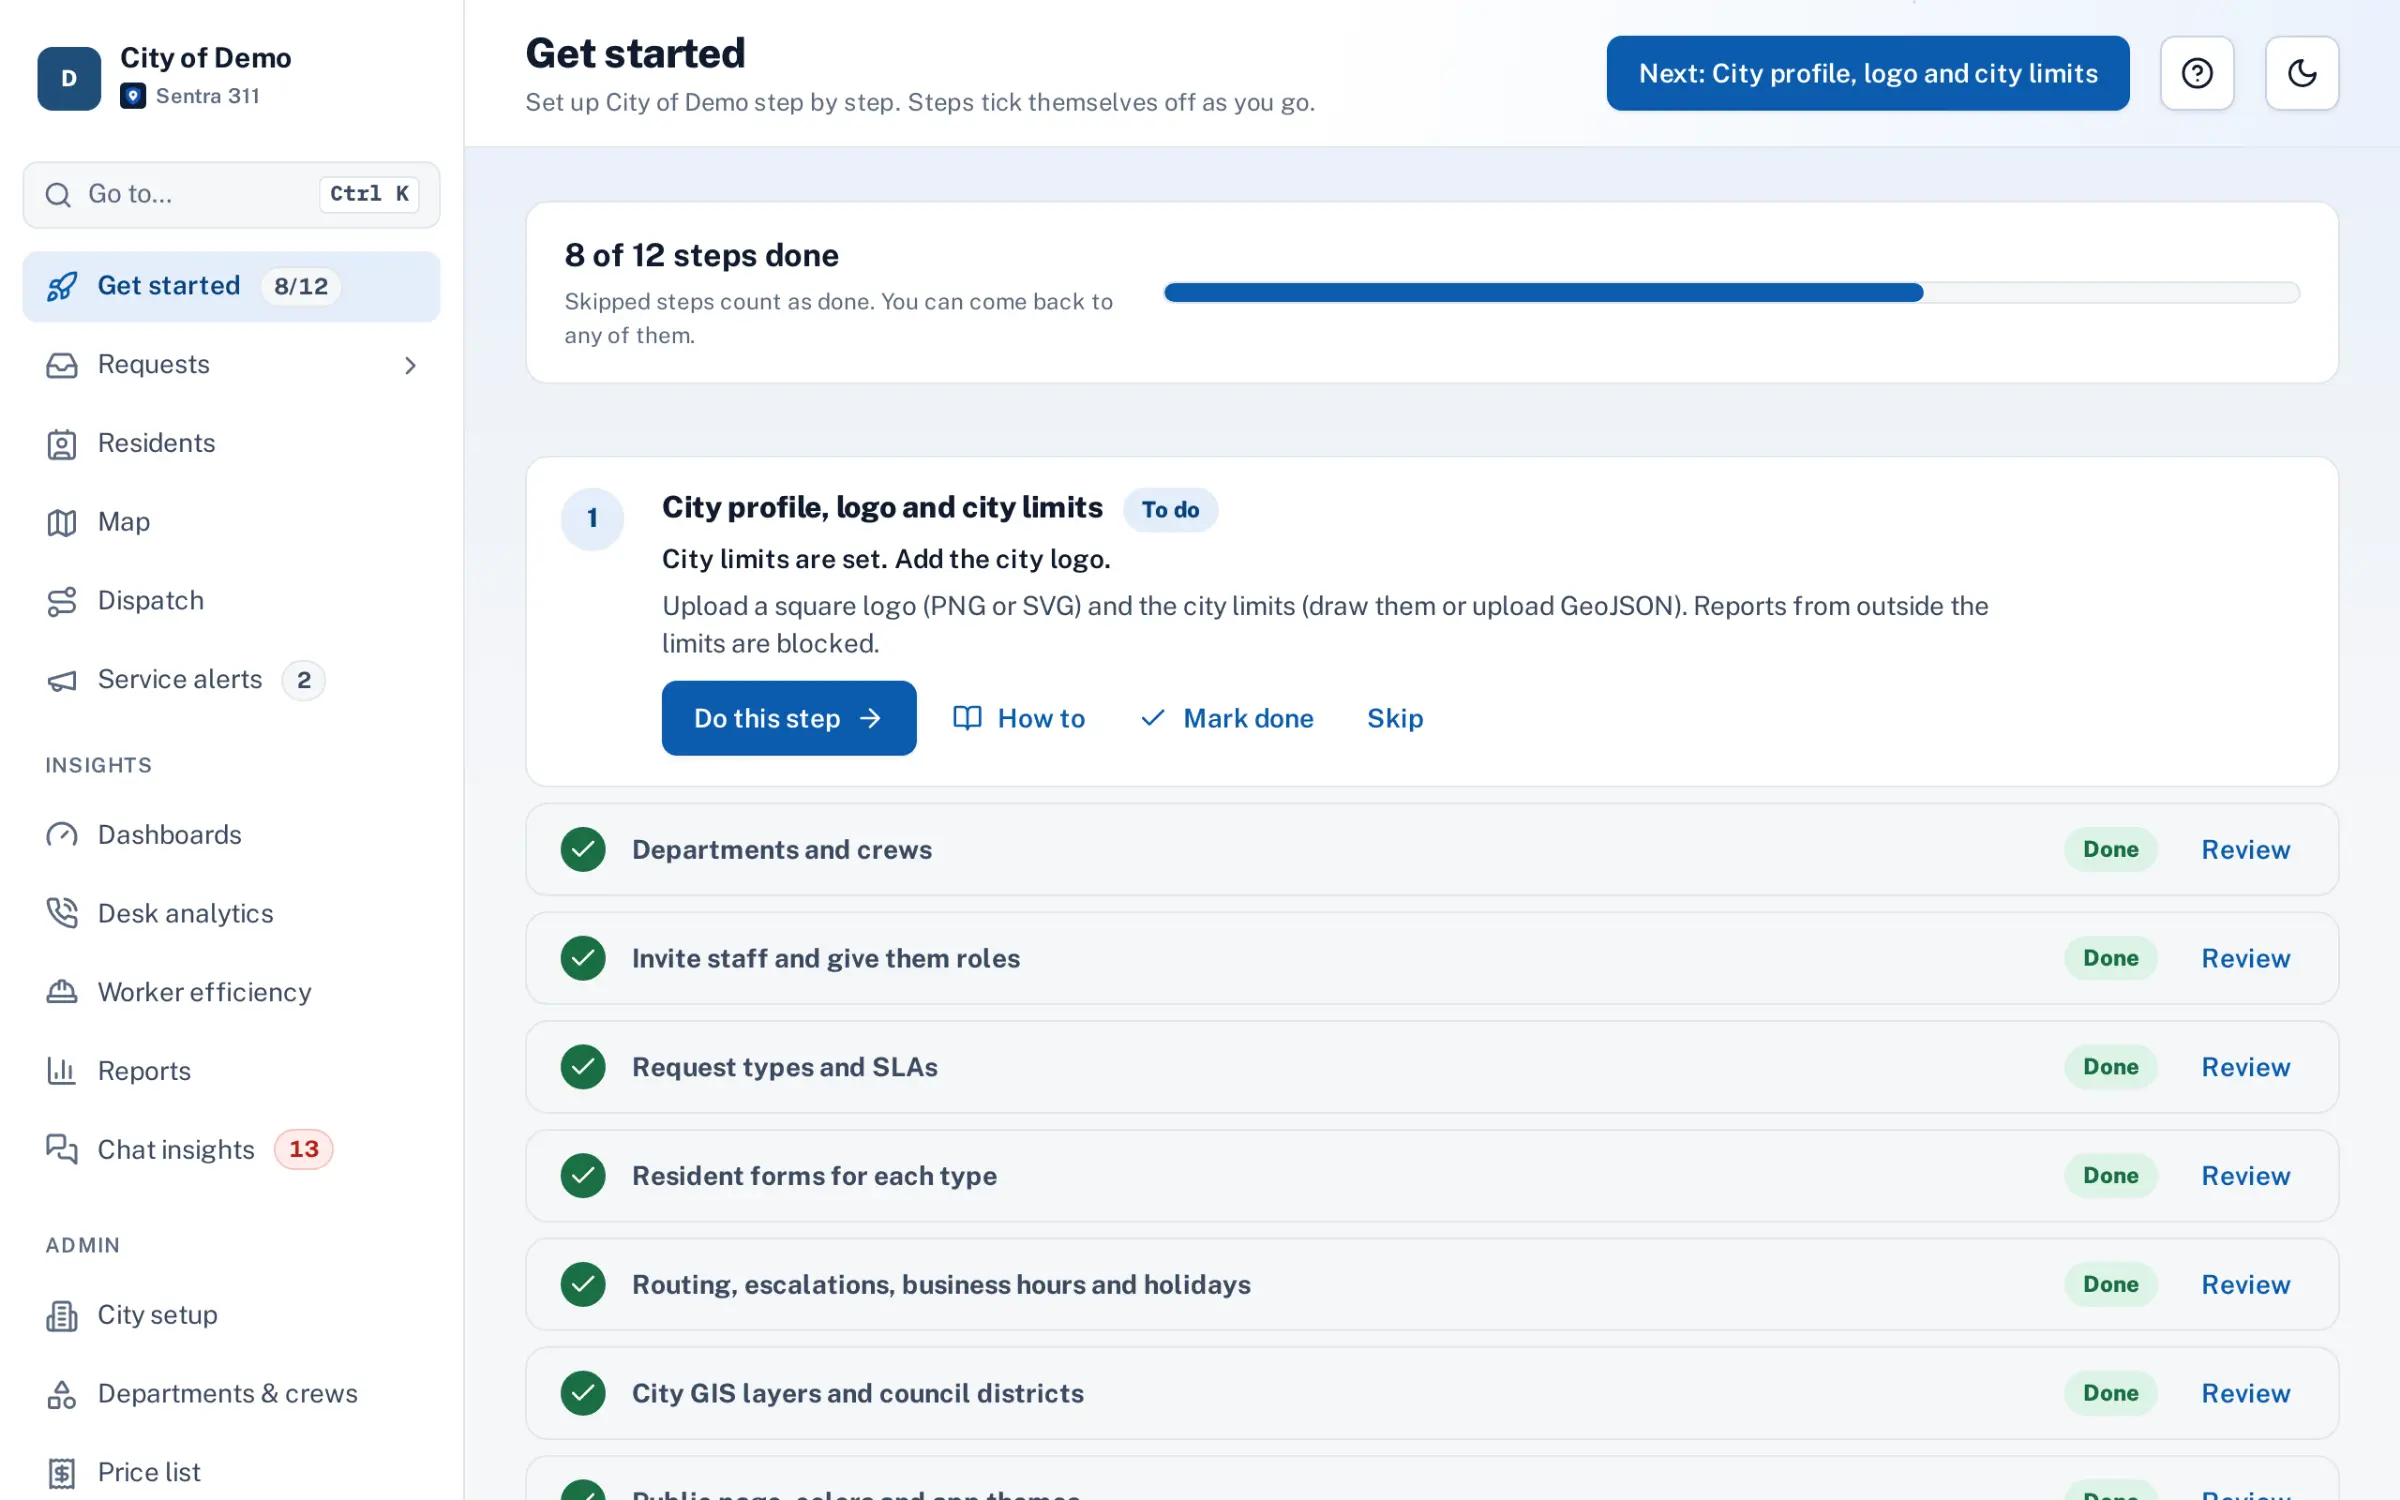
The Get started checklist in the portal. Steps tick themselves off as the real settings are done.
What we do, and what your city prepares
We do
- Create your city and your first admin account.
- Load the ready-made library of request types you choose, as a starting point.
- Help connect your ArcGIS layers and set up council districts and the city boundary.
- Help with importing requests from your old system (a CSV export), including a test import you can undo.
- Train each group of staff and answer questions during testing.
- Check the go-live list with you before launch.
Your city prepares
- City limits and GIS: a boundary file (GeoJSON) or your ArcGIS layer addresses for council districts, trash days and similar.
- Departments and people: the departments that work requests, crews, and a list of staff with their roles.
- Request types: the problems residents report most, which department handles each, and how quickly each should be fixed.
- Look and feel: your logo, city color and a banner photo for the public report page.
- Your website: someone who can add the widget code or a link to the report page.
- Old data (optional): an export from the current system if you want history and open requests brought over.
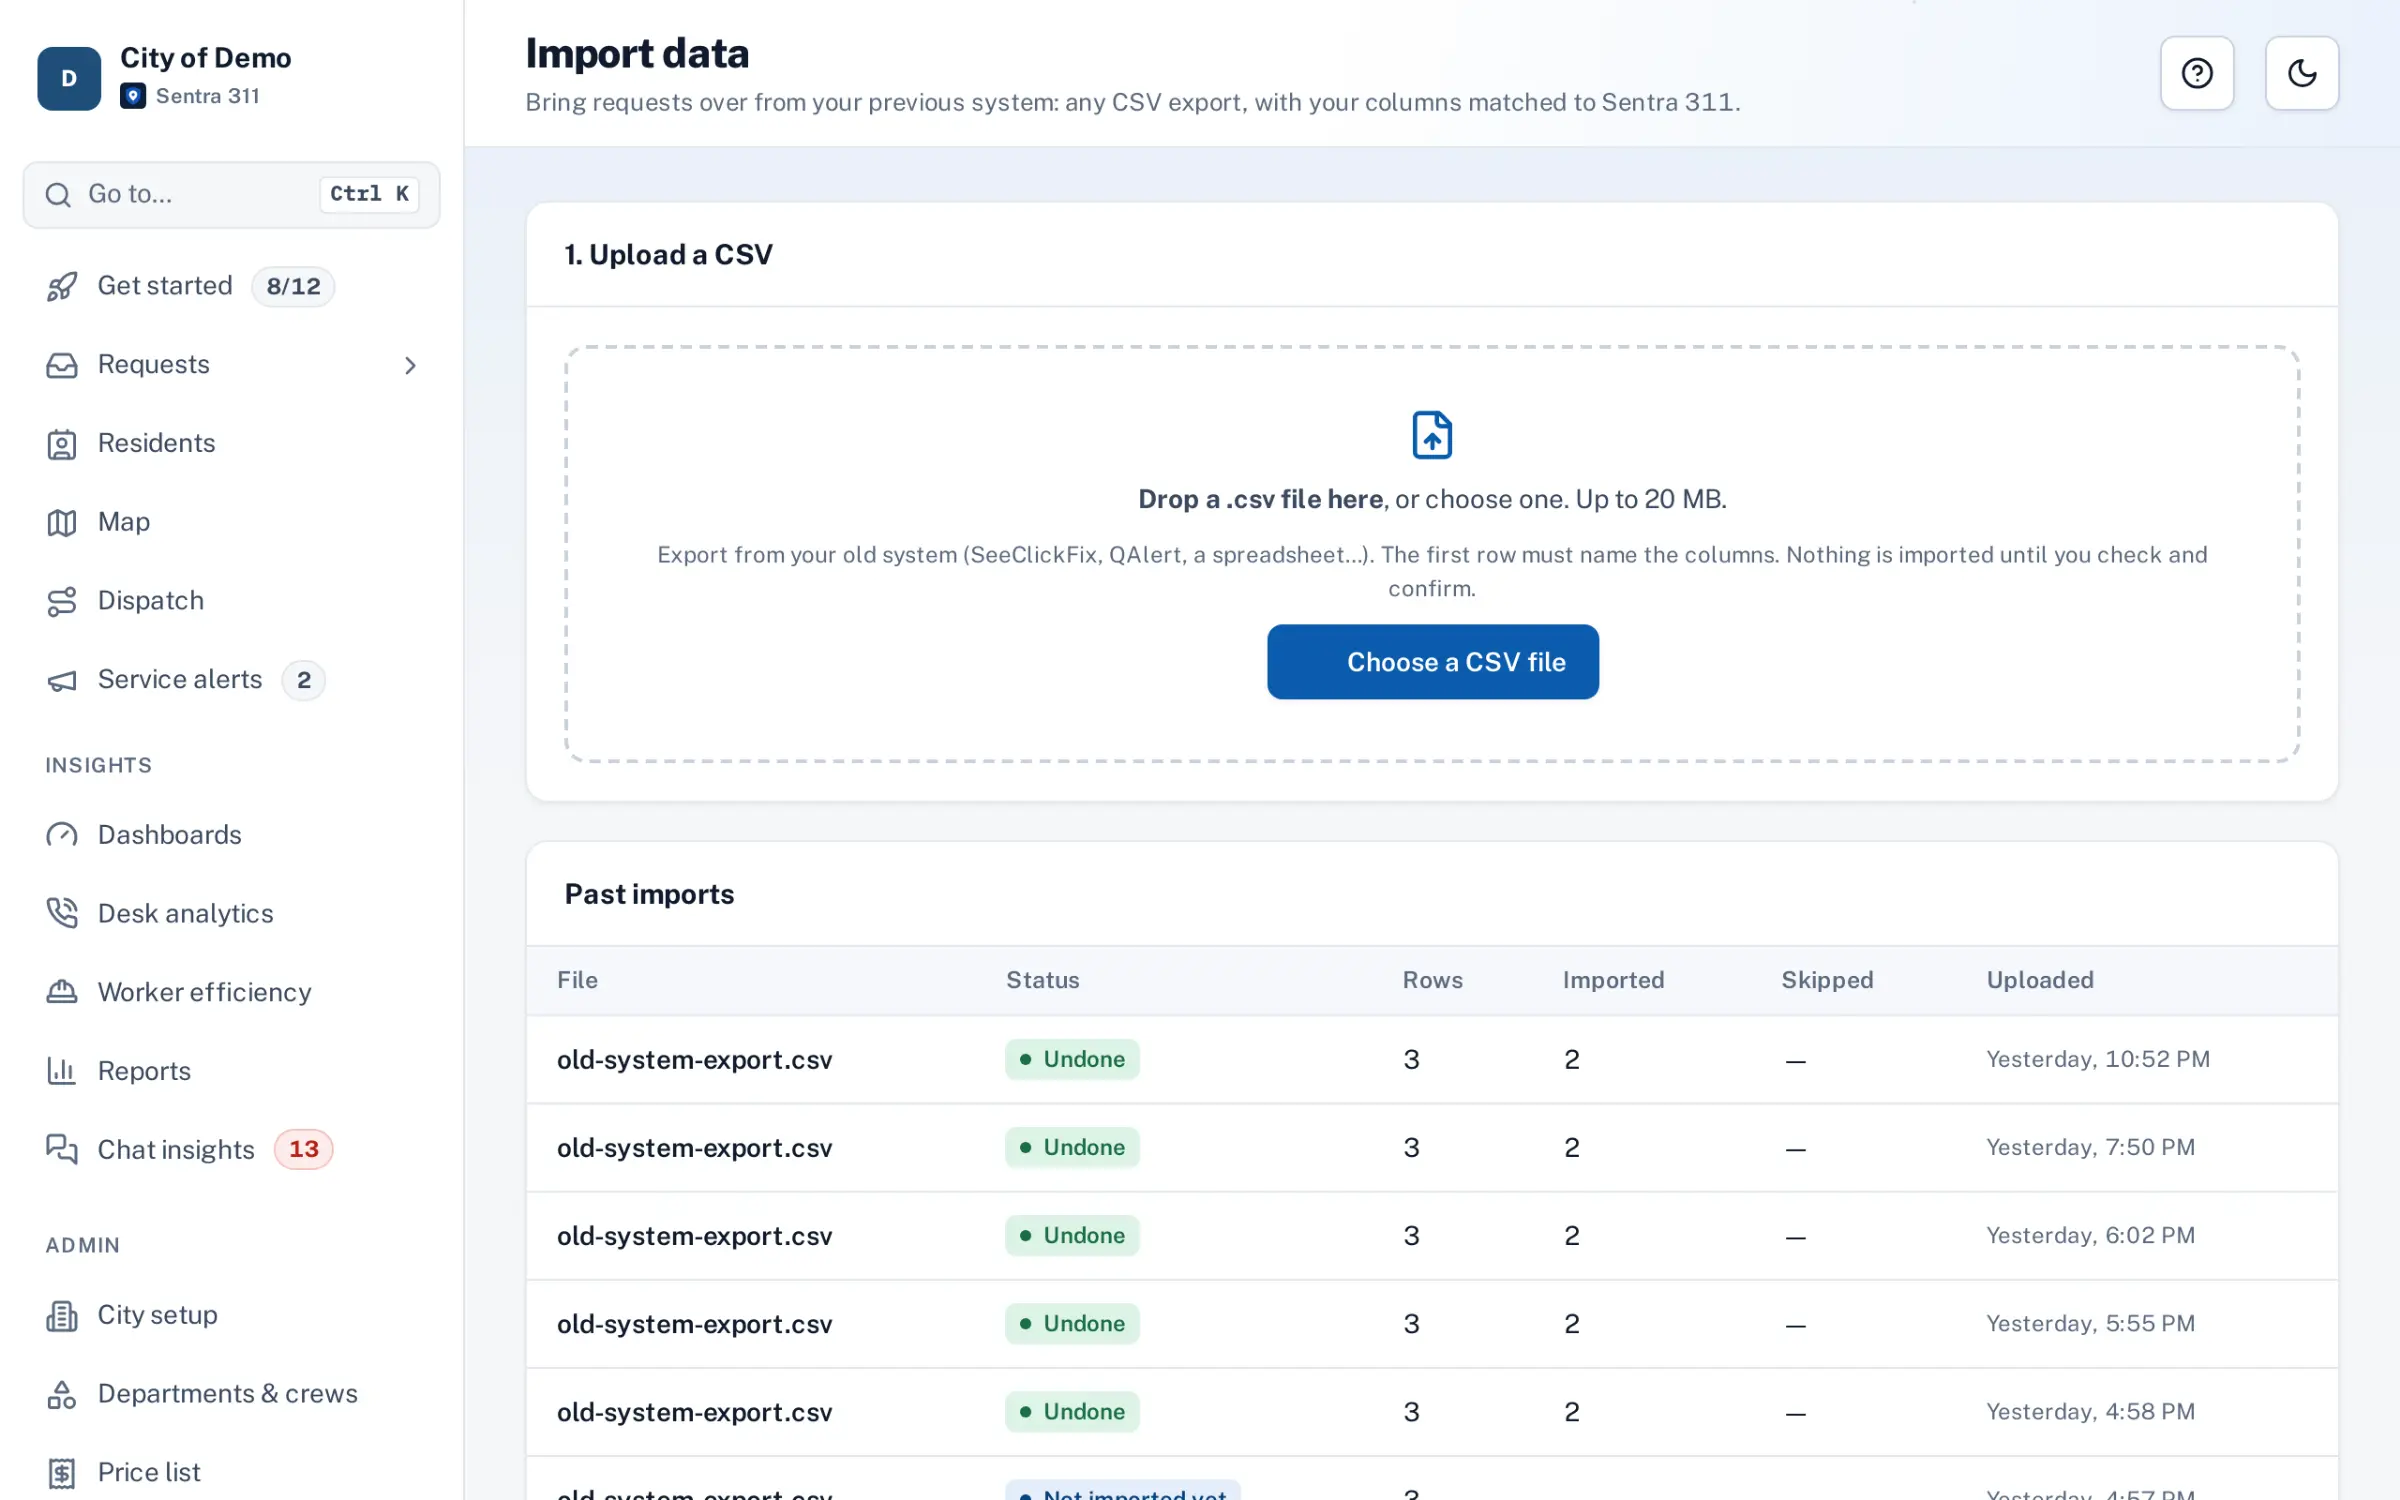
Moving your data
If you’re replacing another system, the importer brings your history over from a CSV export.
- Matches your columns to Sentra 311 fields
- Suggests a request type for each old category
- Shows a preview before anything is created
- Every import can be undone
- Details in the Migration guide
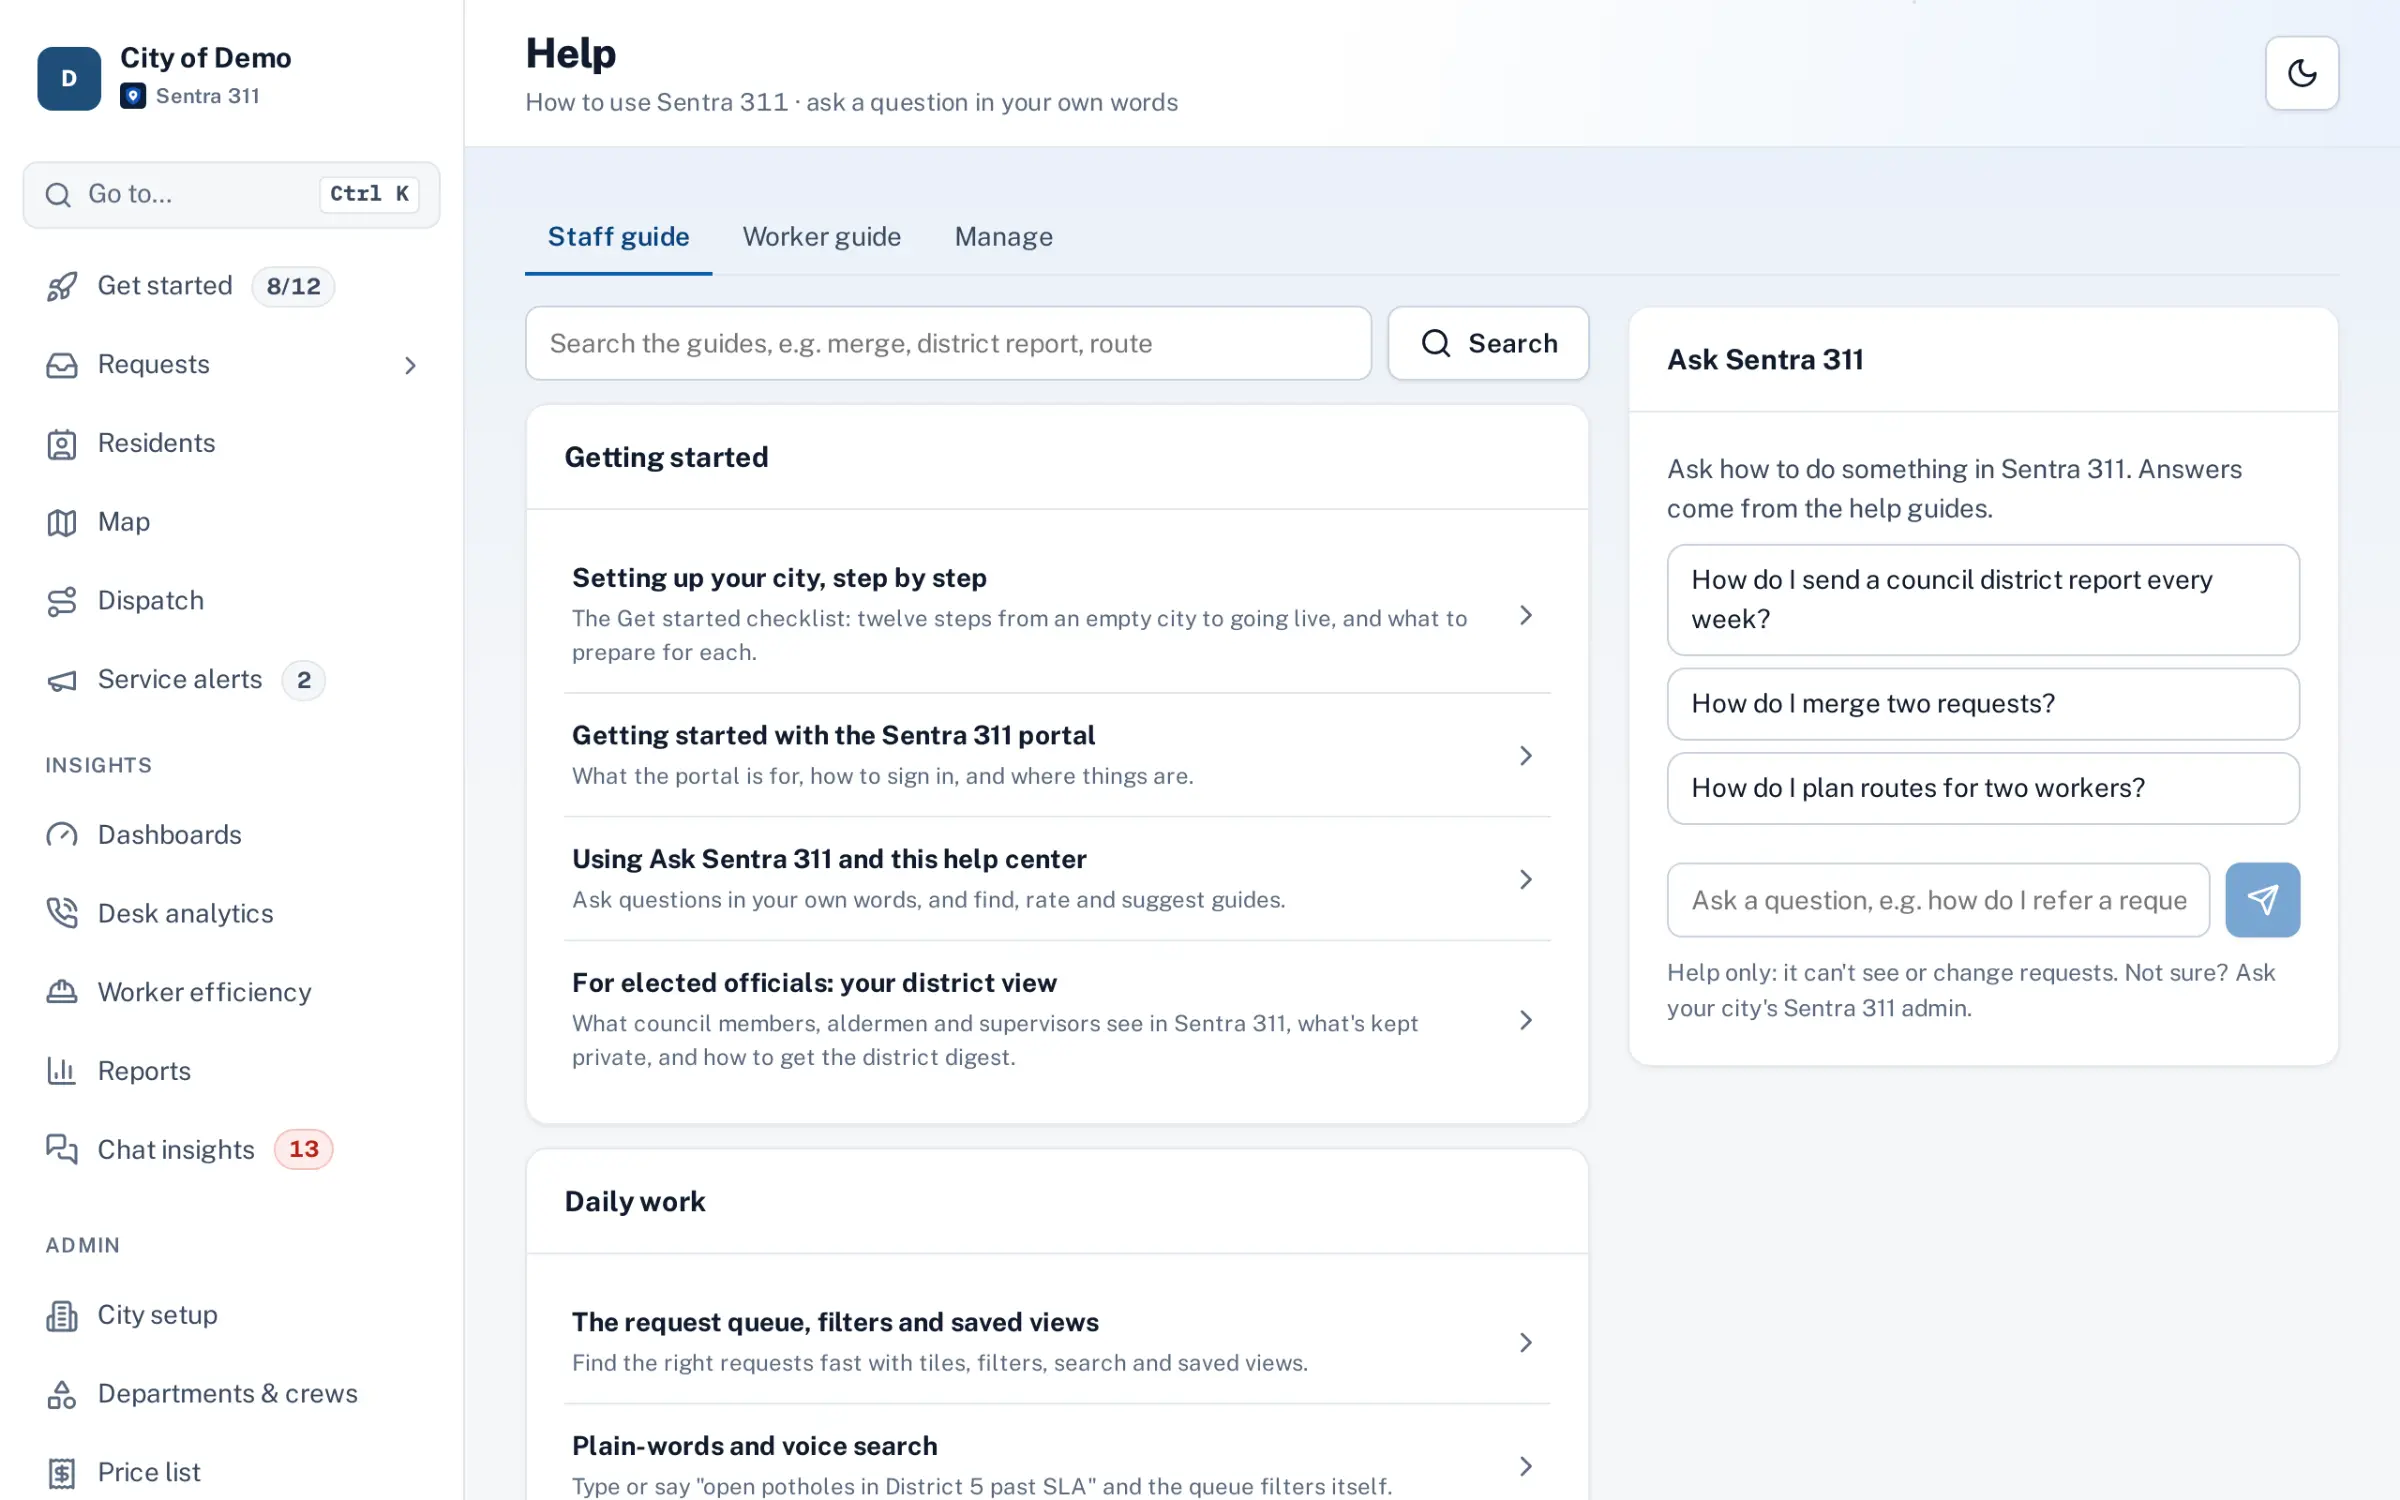
Training and help after go-live
Everyone gets training for their role and help inside the product.
- Role-based training for admins, dispatchers, call-takers, department heads and field crews
- A help center inside the portal and the worker app, with step-by-step guides
- The Ask Sentra 311 assistant for “how do I…” questions
- Support from the Computer Systems Plus team after launch
Questions cities ask
How long does onboarding take?
It depends mostly on decisions on your side: which request types to start with, and who works them. The checklist keeps it moving; many steps take minutes once those decisions are made. We’ll agree on a go-live goal at kickoff.
Do we have to finish every step before going live?
No. Importing old requests is optional, and any step can be skipped. Only real problems block going live, such as no city limits, request types with no department, or nobody but the admin to work requests.
Can we start small?
Yes. Many cities start with a few departments and their most common request types, then add more after launch. Request types, forms and routing can change at any time.
Do residents need an app?
No. Residents can report from the public report page in any browser, the website widget, the AI chat on the report page, or by phone with a call-taker. The resident app is optional. (Store versions of the apps are coming; today the apps run in the browser.)
What does setup include?
Setup and training are part of onboarding: request types, routing, branding, GIS layers and role-based training. Your city pays one flat yearly rate for its size; get pricing for your city.
Can we change things after go-live?
Yes. Everything set up during onboarding stays editable by your admins, and the Get started checklist remains available under Admin › City setup.